Create Events
There are two kinds of events in Church Admin. Calendar events and Events. On this page, we are going to deal only with Events. To learn more on calendar events, see Calendar events.
To create an event, go to Events in the Church Admin menu.

Click on Add an Event.

Event title: the name of your event.
Event location: anything from the address of the event location to the name of the venue. Whatever will be useful and understood by your congregation.
Event Date: select the date on which your event will take place.
Event time: select the time that the event will begin.
Photo Permission question: Check the box if you would like to include a question asking the person registering for the event whether or not they accept pictures being taken of them at the event.
Dietary question: Check the box if you would like to include a question asking the person registering for the event whether or not they have any dietary restrictions, e.g. for a dinner event.
Medical needs question: Check the box if you would like to include a question asking the person registering for the event whether or not they have any medical needs for attending the event
Save event.

Once you’ve saved the event, the above page will appear giving you the option to Add a ticket type. If you would like to allow online registration for the event, click Add a ticket type.

Fill in the Add a ticket form and click Save ticket. That’s how easy it is to add ticketing to your event. You can add multiple ticket types for one event. Paid ticketing, however, is a paid feature of Church Admin. Paid ticketing is available only for those who have bought or subscribe to the Church Admin app.
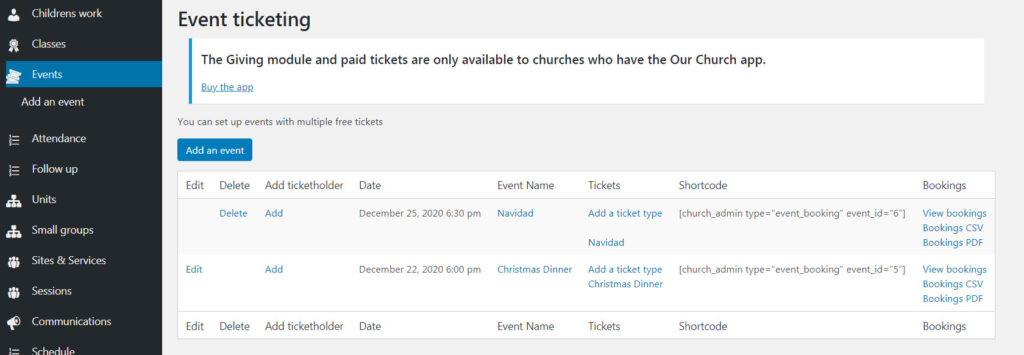
Back at Events, you can delete events, or add ticketing. Here to you can get the app by clicking on Buy the app.
To the right of the event name, is a column for the shortcodes for the events. You can copy the shortcode for the event you have made and paste it onto a new page to create a sign up form for the event. You can add text or edit the appearance of your page, but the part of the page made by the shortcode will look like this.
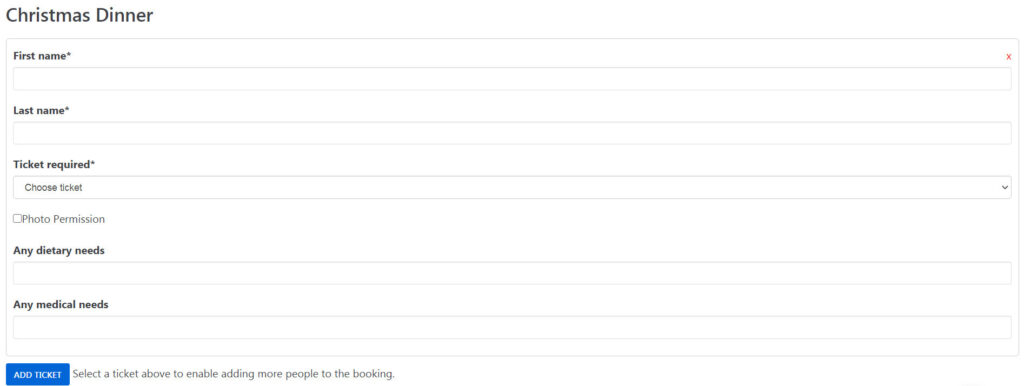

This is the form that your church members will fill out to book a ticket for your event. They can click ADD TICKET to also book a ticket for another person. Fields marked with an asterisk are required fields. Once all required fields are filled, they can click BOOK to finish the booking process.
To see tickets that have been booked, at the Events page you can click on View bookings at the far right of the event listing. Click Bookings CSV or Bookings PDF to get a CSV or PDF file of the bookings.

If you click View bookings and no bookings have been made as of yet, you will be given the option to add a booking, and again the option to download a CSV or PDF.

If you click on Add a ticket (new booking) you can add a ticket booking for anyone directly.

As an administrator, no fields are required.