Facilities
The Facilites feature is a very simple tool to use. Entering your facilities into Church Admin allows you to keep track of what is being used when. You can completely eliminate the problem of multiple events planned for the same place at the same time, and the problem of multiple people planning on using the same resources at the same time. Now, when an event is being planned, it is easy to check the facilities calendar to see if the room or venue you want to use is free for the day you need it.
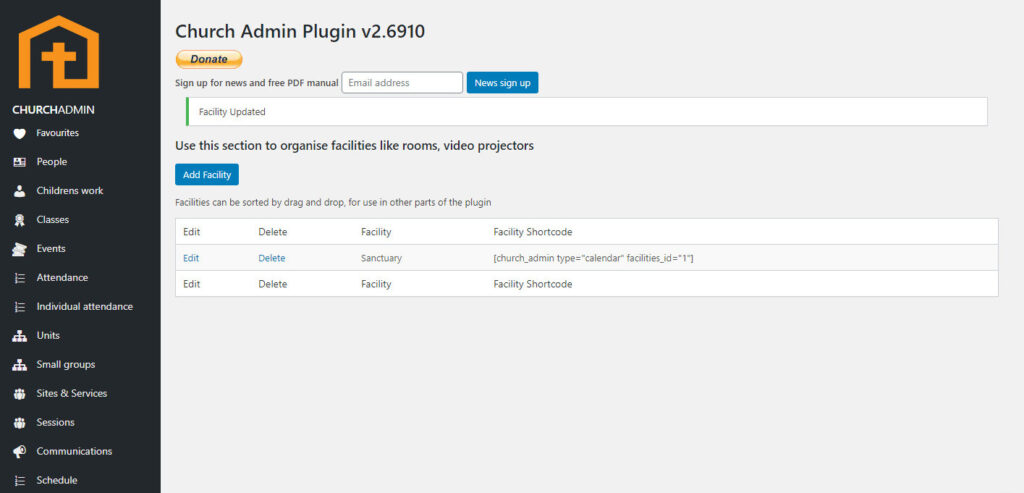
To add facilities, go to the Church Admin menu and click on Facilities.

Let’s start by adding some facilities. For example: Sanctuary, Youth room, Video camera 1.
Click on Add Facility and add whatever facilities you would like.

Click Save Facility, and you can start organizing events by facilities.
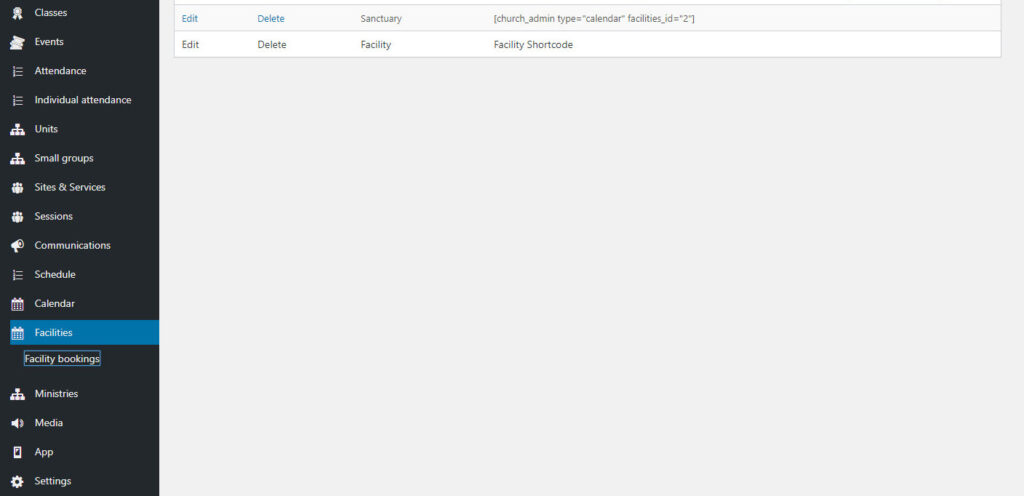
At any moment you can return to the Facilities page and add, edit, or delete facilities.
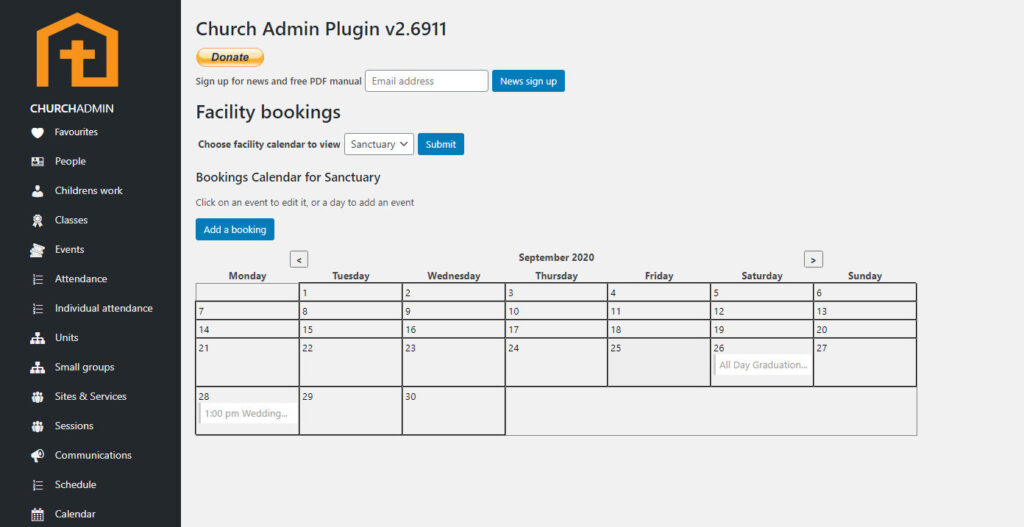
Now, when you create a new calendar event (which is different than a regular event), you can mark it as using a certain facility. To add a calendar event, click on Facility bookings under Facilities in the Church Admin menu; then click Add an event. Or go to Calendar and click on Add event, or click on Add to calendar under Calendar on the Church Admin menu.


Create the calendar event, selecting the desired Facility. Hit save and it will appear on the Calendar. Here you can specify whether or not you would also like it to appear on the general calendar.
You can now go to Facility Bookings under Facilities in the Church Admin menu to add calendar items with assigned facilities, or you can go to Calendar right above Facilities in the menu and add a Calendar event from there.
On the Facility bookings page, where it says “Choose facility calendar to view,” select the facility you would like to view and click Submit. The calendar will load, showing only events that use the facility you selected.
If you would like to have the events show in different colors, view How to use Calendar Categories.