Upload Sermons
If your church records sermons, you’ll love Church Admin’s Sermon feature. Upload or link your sermons to your website with Church Admin. Church Admin offers a beautiful sermon display and an easy way to keep your sermons organized on one platform.
Before you begin uploading sermons, make sure that you have your Sites & Services set up.
To upload a sermon (video, audio, or text) go to Media in the Church Admin menu.
Click on Upload media in the Media sub-menu.


Although this is a rather long form, once you understand it well it is quite easy to fill out.
File Title: what would you like the file you are uploading to be called? [REQUIRED]
File Subtitle (a few words): a short subtitle to the main title.
File Description: a short description on the file you are uploading.
Scripture Passage: the passage of the Bible that this sermon was based off of.
Logged in only?: click to restrict access to this sermon to logged in users.
Sermon Series: If you have already created a sermon series, select the correct sermon series from the drop-down menu.
Create a new sermon series: if this sermon is part of a series, you can enter in the name of the series here. [REQUIRED] Since this is a required field, if the sermon is not part of a series, you have the option of simply creating a new sermon series named the same thing as the individual sermon.
Service: select the service when this sermon was preached.
Speaker: enter the name(s) of the speaker(s) that delivered the sermon.
Publication Date: the date when the sermon was recorded.
Publication Time: while rather irrelevant if you have selected a service, here you can specify the time when the sermon was recorded.
Of next three items, you must include at least one or notes/transcript at the bottom, but you can add more than one if you like.
Mp3/M4a File: upload an Mp3 or M4a file from your computer.
External Audio Mp3/M4a: if you have already uploaded your sermon elsewhere, you can copy the URL to that audio. (e.g. iTunes, Spotify)
Video “Share” URL (YouTube, Vimeo or Facebook): if you have uploaded a video of the sermon to YouTube, Vimeo, or Facebook, you can copy the link to your video and paste it into this field.
Blog the sermon: click this check mark if you would like the sermon to be published as a blog post upon saving.
Add Media: click Add Media to add a cover photo for the sermon.
Notes/Transcript: here you can add any notes on the sermon or a transcript of the sermon. In the upper-hand corner there are two tabs: Visual and Text:
Select Visual to write normally. Select Text to write the notes/transcript using HTML or CSS.
Save File to finish.

Once you have saved a sermon, it will appear on the Media page. You can easily see if the file was uploaded correctly, how many times it has been played, and more. Edit or delete sermons from here as well.
On the far left is the shortcode for each individual sermon. If you copy the shortcode and paste it onto a page, the sermon will display along with the notes/transcript and whatever audio or video files you uploaded to it.
If you have uploaded a media file, but have not attached it. Go to Add uploaded file in the Media sub-menu to attach the file to a podcast.
To add, edit, or delete a sermon series, go to Sermon series under Media in the Church Admin menu.

To add a sermon series, click on Add a Sermon Series from the Sermon Series page.

The last sub-menu item is Podcast settings.
If you have a church podcast, there’s no need to re-upload the podcasts to your website, simply link the existing podcasts. In Podcast settings, you can set up your podcast on Church Admin. You can link podcasts from iTunes or Spotify.
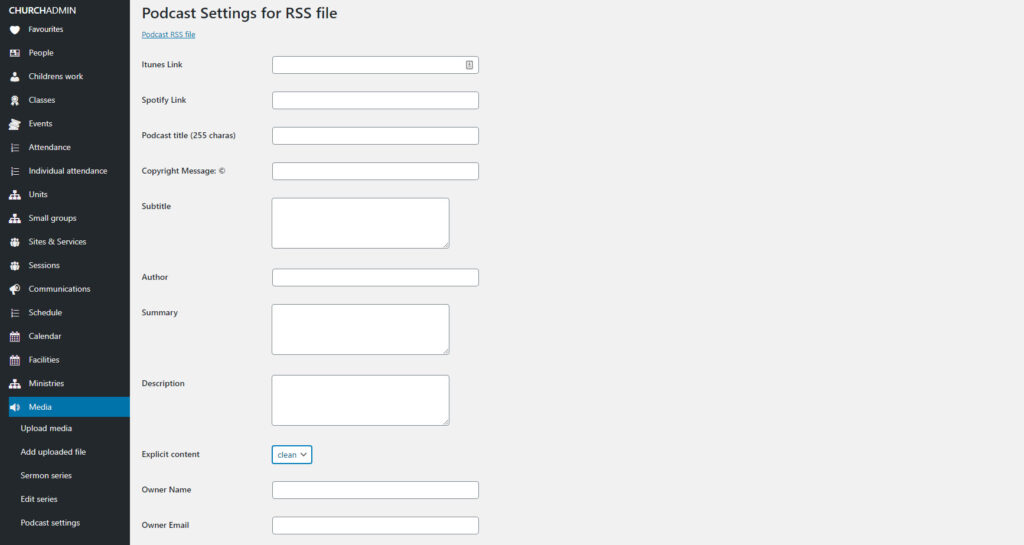
If your podcasts are on ITunes, copy the iTunes link for your podcast and paste it in the first text field.
If your podcasts are on Spotify, copy the Spotify “show link” and paste it in the second text field.
Next, fill in the title of your podcast.
Copyright Message ©: here write the copyright text for your podcast.
Subtitle: here you can fill in a subtitle to your main title. (Not a subtitle track as for a video)
Enter the author of your podcast. (e.g. your church, a specific pastor, etc.)
You can write a summary of the podcast contents and below write a description.
Specify whether or not your podcast contains explicit content.
Owner Name: the owner of this podcast (e.g. your church)
Owner Email: the owner of this podcast’s email.

Select the spoken language of the podcast.
iTunes category: the podcast category, even if your podcast is on Spotify.
Image (1400px square): here you can upload a cover image for your podcast.
The last fields are title display options. If you would like, you may replace the following text with your own titles. For example, we display them bilingually, e.g. Sermons/Sermones.
Once you have personalized all the settings, click Save Podcast XML settings.
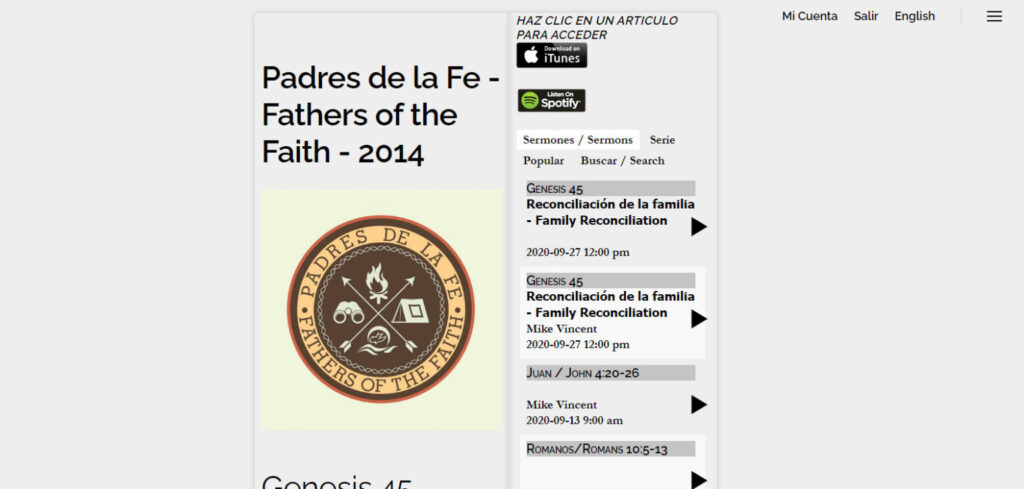
Now your podcasts and the links to listen to your podcasts on ITunes or Spotify will display on the Sermons page along with shortcodes for displaying them!