How to set up the Work Schedule
One of the great features that comes with Church Admin is the Rota. With the Church Admin Rota, you can schedule jobs for all the ministries of your church, from Pastoral to janitorial. You can communicate the schedule by SMS or email. You can also download a copy of it in a PDF or CSV format. But first, you need to set it up.
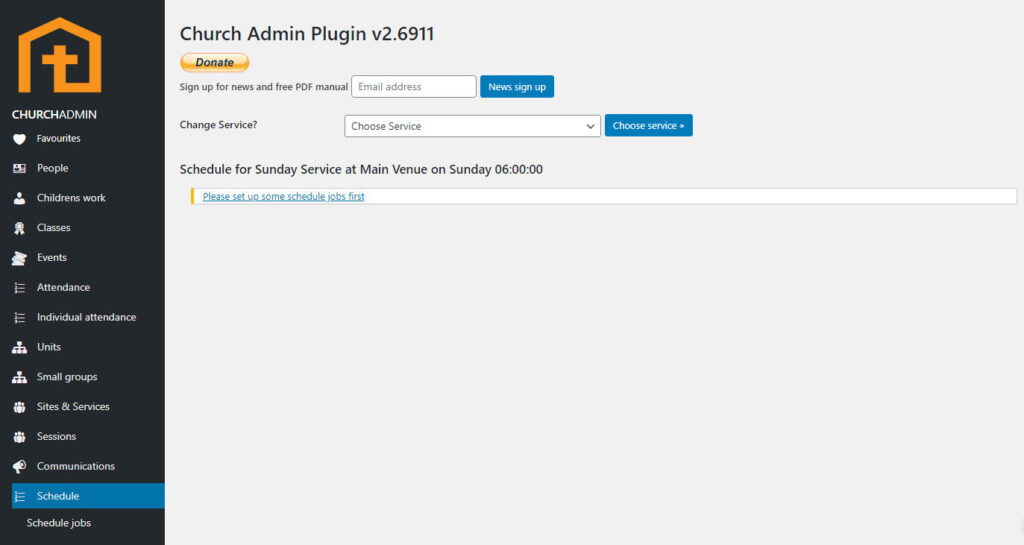
To set up the schedule, go to Schedule in the Church Admin menu.
To start, press Please set up some schedule jobs first.
On the next screen, click Add a schedule job.


Schedule Job: fill in the name of the job.
Use Initials: this check box is to specify whether you would like the names of those people scheduled for the job to display as full names or as initials.
Which Services need this task? Select the service or services that this job will apply to.
Choose which ministries do this job Choose the ministry or ministries that will be in charge of doing this job.
Lastly, Save Schedule Job.
You can repeat this process for as many jobs as you want and for as many services as you would like.
To view the job schedules you’ve just created, go back to Schedule. There, the work schedules are displayed by date. From there you can easily edit or delete schedules.
You can go quickly to a specific work schedule by selecting the date from the drop-down menu Choose period starting and clicking Go to.

In the Schedule sub-menu there are several menu items that need some explaining.

Schedule jobs, as we have seen, is where you go to see the tasks you have created. From there you can also add new “schedule jobs” or tasks.
Add a schedule job: rather self explanatory, but that is where you go to add jobs to the schedule.
If you click on Auto email schedule, you can set up an email to automatically send out on a specific day of the week. For example, if you set up a work schedule for Sunday, you can have it sent out Thursday before to give your servants time to prepare for the tasks. You can write a message to go along with the schedule, or not. You can have it automatically sent out, or you can choose to send it out manually when you choose.

To send that out manually, go to the sub-menu item Email schedule.

Choose a service to send out and hit Send service rota.
Show schedule cron jobs:

WP-Cron is how WordPress handles scheduling time-based tasks in WordPress. Current auto schedule email wp-cron jobs are simply the schedules you have set up to email automatically. The picture above is how it will look if you have not set up any automatic emails. Below is a picture of how it will look if you have set up at least one automatic email.

You can delete an automatic email from this page, but you cannot edit it.
The sub-menu item Email schedule takes you to a page where you can select a service schedule to send out. Select a service and date, then click Send service rota.

SMS schedule: sends out the schedule by SMS.

To use this feature you will have to set up a bulk SMS service. Go to SMS settings under Communications in the Church Admin menu. See Setting up your Bulk SMS service.
PDF schedule: get a PDF file of your schedules.

CSV schedule: get a CSV file of your schedules.

Those are all the great things you can do with Schedule!